Vitals Simulation Project Setup
Table of Contents
Introduction
This guide includes the steps to configure your development environment to run the Vitals Simulation project.
Prerequisites
- Set up Git on Windows: Download Git
- Download Ollama: Download Ollama
- Log into Azure with a Microsoft account: Azure
Anaconda
Download and install Anaconda from the official website: Anaconda Distribution. Leave all configurations as default.
Next, create and set up a new Conda Virtual Environment by following these steps:
- Open the Anaconda Powershell Prompt (search for it in Windows Search Bar)
- Type
conda create --name ml_env python=3.9. ml_env can be any name of your choice - Type
conda activate ml_env. This will activate the ml_env virtual environment - Install the following Python packages:
pip install msgpack-rpc-pythonpip install airsimpip install websocketspip install ollamapip install requestspip install geopypip install stopwatch.py
Verify that all packages are installed by running pip list. This should contain all the packages above, and additional packages installed by the build wheel for PyTorch.
As a sanity check, type python and press enter to open a Python intepreter. Then type import airsim and press enter. If no error is thrown, the installation was successful.

If an error occurs, ensure that msgpack-rpc-python is installed before installing airsim.
Unreal Engine
Install Unreal Engine 5.2 from the Epic Games Launcher by performing the following steps:
- Download the Epics Games Launcher and register for an Epic Games account if you do not have one.
- Run the Epic Games Launcher and open the Unreal Engine tab on the left pane. Click on the Install button on the top right OR click the + icon next to Engine Versions in the Library tab. In the new element that was created, select the version number dropdown and select Unreal Engine Version 5.2.1. Click Install and follow the installation steps.
After installation, open Unreal Engine and create a new project using the "Blank" template. Ensure that you select "Blueprint" as the project type and enable "Starter Content".
Visual Studio 2022
Download and install Visual Studio 2022 Community Edition from the official website: Visual Studio Community.
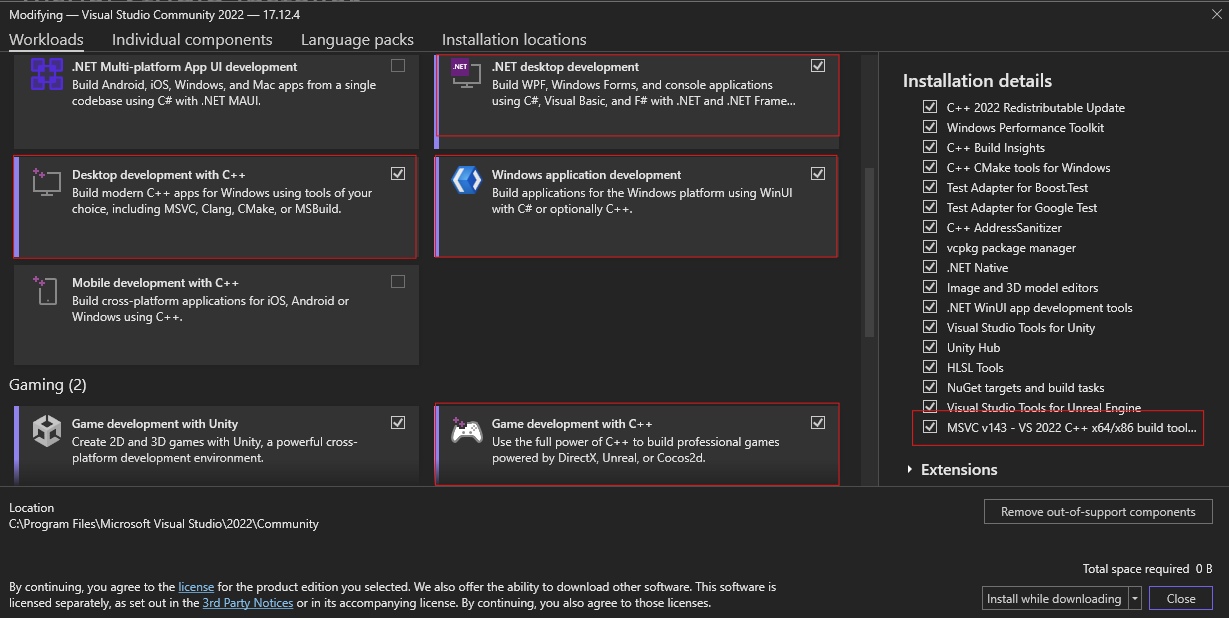
During installation, ensure that you select the following workloads:
- .NET Desktop Development
- Desktop Development with C++
- Game Development with C++
- Windows Application Development
Select the following individual components:
- MSVC v143 - VS 2022 C++ x64/x86 build tools (14.38 - 17.8)
Colosseum
Download the source code .zip file found here: Colosseum UE 5.2 Support Release.
It is recommended, but not required, to extract the .zip folder to a different drive from the C: drive, such as D: or E: drives. This is because Colosseum/AirSim scripts may fail if in the main drive, requiring VS to run in Admin mode. However, we have not had any problems with extracting the .zip folder to the C: drive.
Assuming Visual Studio is configured, start the Developer Command Prompt for VS 2022 (search for it in Windows Search Bar).
Now, in the Developer Command Prompt, navigate to the Colosseum/AirSim directory. Then, type build to build Colosseum/AirSim. Building Colosseum will create the Plugins folder to be used within Unreal Engine.

If you encounter an error during the build process, refer to the Error Guide for troubleshooting steps.
After the build is complete, there will be a Plugins folder under .../Colosseum/Unreal. However, the specific release we downloaded has one error that needs to be fixed:
Navigate to .../Colosseum/Plugins/AirSim/Source/SimMode/SimModeBase.cpp
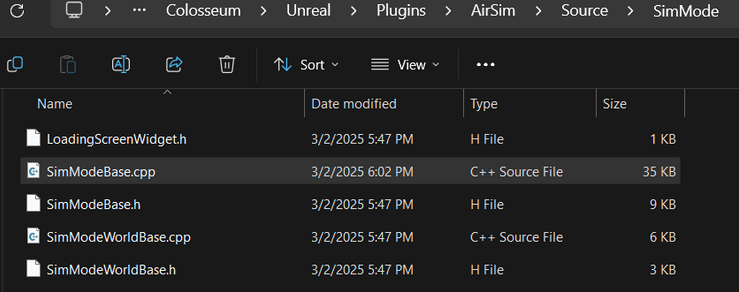
Open SimModeBase.cpp in Visual Studio and on line 229, change the #if directive to the following: #if ((ENGINE_MAJOR_VERSION > 4) || (ENGINE_MAJOR_VERSION == 4 && ENGINE_MINOR_VERSION >= 27))

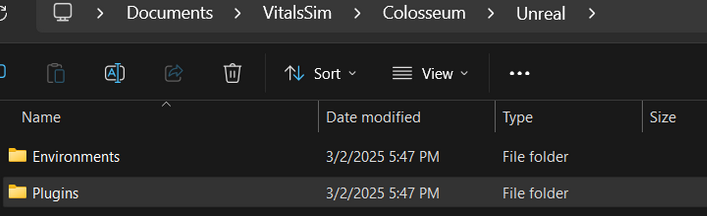
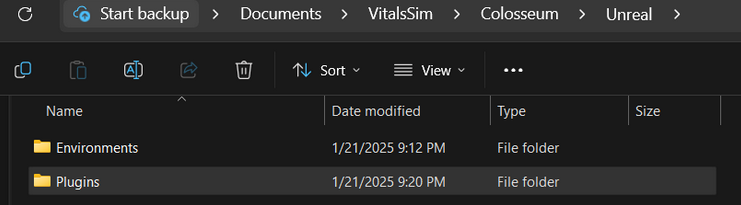
Once corrected, save the file and copy the Plugins folder into .../Colosseum/Unreal/Environments/Blocks.
Make sure to copy/paste the updated version of the Plugins folder wherever you use the AirSim plugin.
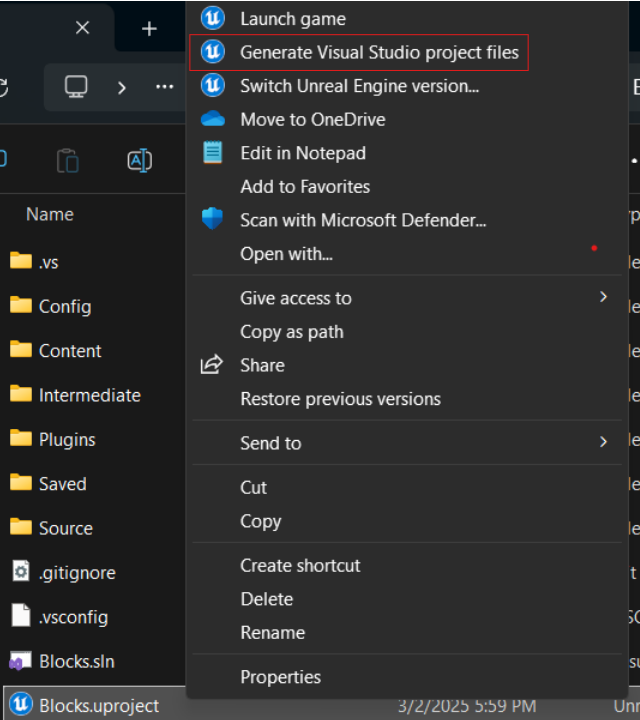
Once done, navigate to .../Colosseum/Unreal/Environments/Blocks. Right-click the Blocks.uproject file and choose Generate Visual Studio project files. If prompted, ensure that Engine Version 5.2 is selected.
You might need to click More Options if you are on Windows 11 to see the Generate Visual Studio project files option.
Next, we are going to build the Blocks Unreal Engine project. Open the newly created Blocks.sln with Visual Studio 2022. In the top toolbar, click Build > Build Solution.

If you encounter an error during the build process, refer to the Error Guide for troubleshooting steps.
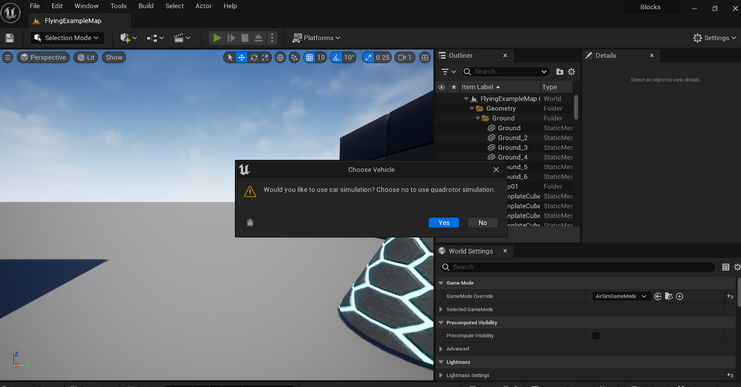
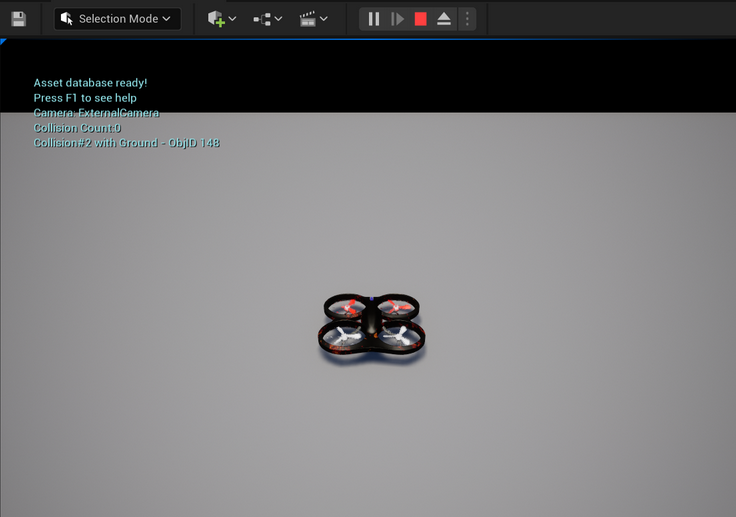
Once the build succeeds, open the Blocks.uproject. Click the Play button at the top. Select No in the dialog box to use the quadcopter. You should see a multirotor drone spawn. Its rotors will move, but the drone will be stationary.
Colosseum API Testing
This section showcases an example of using and creating your own Python script to interact with the simulator.
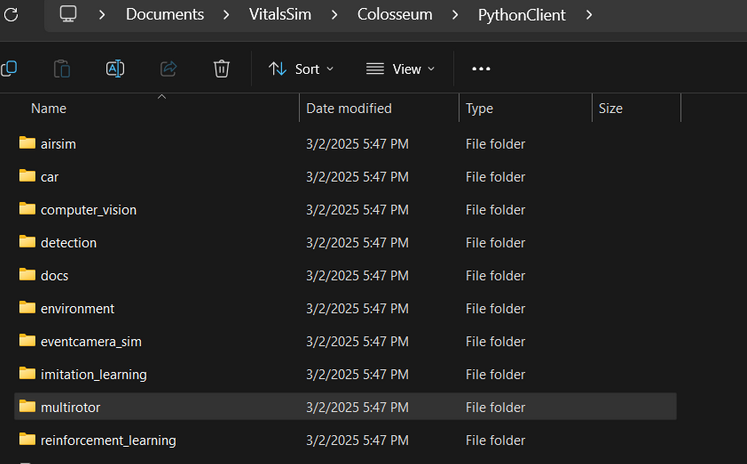
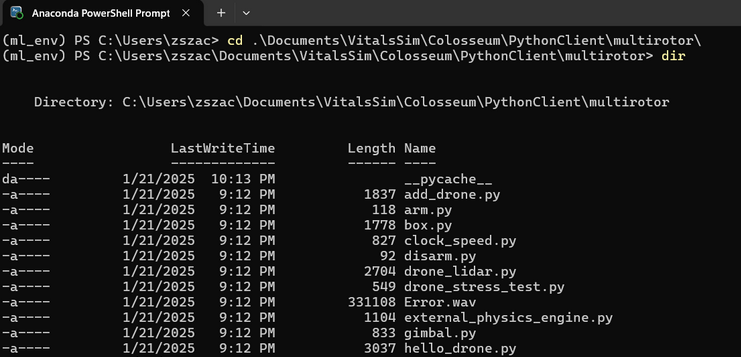
Navigate to ...Colosseum/PythonClient. This directory contains different directories like computer_vision and multirotor. Each of these directories contains Python scripts that can be run from the Conda Environment.
To use a Python script, follow these steps:
- Open and run the Unreal Engine simulator with the appropriate vehicle (multirotor)
- In an Anaconda Powershell Prompt, activate your Conda Environment and navigate to the ...Colosseum/PythonClient/multirotor directory
- Run
python script_name.py, replacing script_name with the filename you want to run
For example, let's try running the hello_drone.py script located in .../Colosseum/PythonClient/multirotor
- Open the Blocks project and press play. Select No to use the quadcopter
- In your Anaconda Powershell Prompt, activate your Conda Environment and navigate to ...Colosseum/PythonClient/multirotor
- In your Anaconda Powershell Prompt, run
python hello_drone.py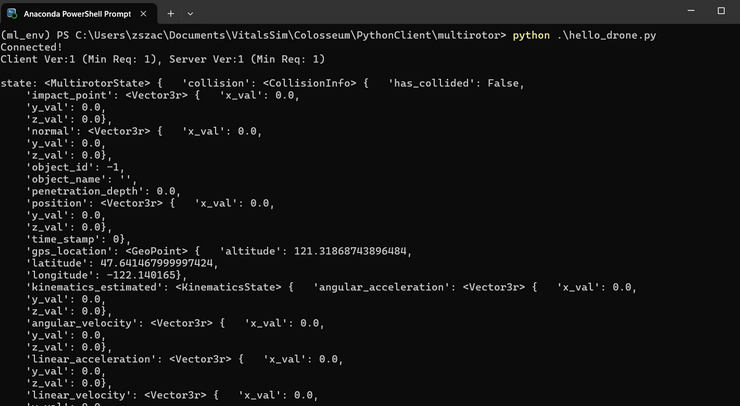
Simulator Performance
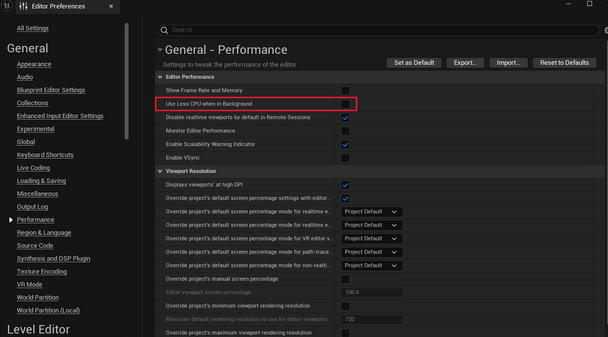
The simulator performance can be improved by adjusting the settings in Unreal Engine. Open the Blocks project and go to Edit > Editor Preferences > Performance.
Disable Use Less CPU when in Background to increase performance when Unreal Engine is not focused.
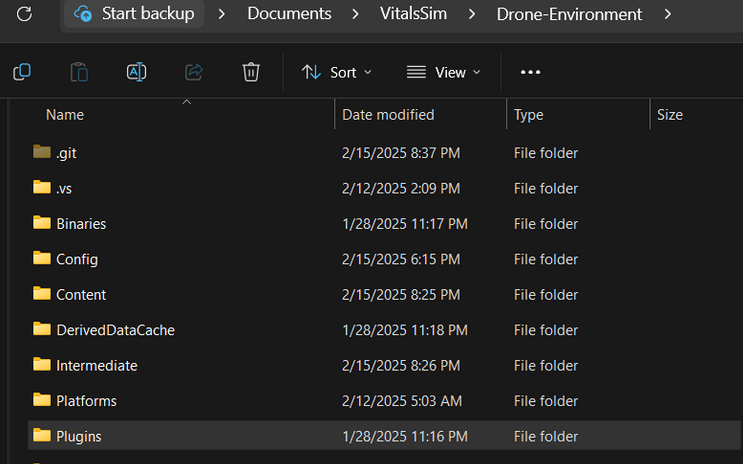
Drone Environment
Now that Unreal Engine and Colosseum are set up, we are going to clone the landscape environment Unreal Engine project.
Clone the Drone-Environment git repository found here: Drone-Environment Git Repo
Currently, the repository is being hosted on Azure DevOps since the Unreal Project exceeds the free tier Git LFS storage on GitHub. If cloning the repository requires a password, this likely indicates that you just need to log into Azure DevOps with a Microsoft account.
Once the repository is cloned, open the File Explorer and copy the Plugins folder that you generated when you built Colosseum (.../Colosseum/Unreal/Plugins) and paste it into the Drone-Environment folder. Make sure this is the Plugins folder that contains the changes to SimModeBase.cpp that we made earlier.
Once done, right-click the Drone-Environment.uproject file and select Generate Visual Studio project files. If prompted, ensure that Engine Version 5.2 is selected.
Once generated, there should be a Drone-Environment.sln file in the same directory. Open this file with Visual Studio 2022. In the top toolbar, click Build > Build Solution.
If you encounter an error during the build process, refer to the Error Guide for troubleshooting steps.
Once the build succeeds, open the Drone-Environment.uproject file. Click the Play button at the top. Select No in the dialog box to use the quadcopter. You should see a multirotor drone spawn.
Ollama
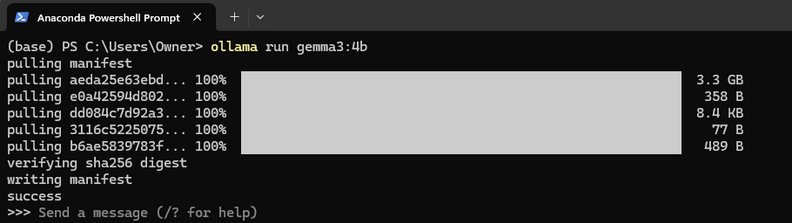
Ollama is a framework that allows us to run AI models locally. We use Ollama as our interface for communicating with our AI model in our scripts.
Since pulling the model for the first time takes a while, we are going to pull the model before running the project. First, ensure you have Ollama installed. Then, open up a Powershell Prompt and run ollama run gemma3:4b. This will pull the Gemma 3 model containing 4 billion parameters. Other models supported by Ollama can be found here: Ollama Models.
Once the model is pulled, you can interact with it like other LLMs through the terminal.

Drone Controller
Finally, we are going to clone the Drone-Controller repository, which contains our Python scripts for handling the drone controller AI.
Clone the Drone-Controller git repository found here: Drone-Controller Git Repo.
Next, create a new file local_config.py at the root of the Drone-Controller directory. This contains two configuration variables:
LOCAL_IP = "Your Windows IP Address", which can be found by runningipconfigin Windows Command PromptEXECUTABLE_PATH = "Absolute/Path/To/DroneEnvironment.exe", which is used if you setRELEASE_BUILDtoTrueinparent_controller.py
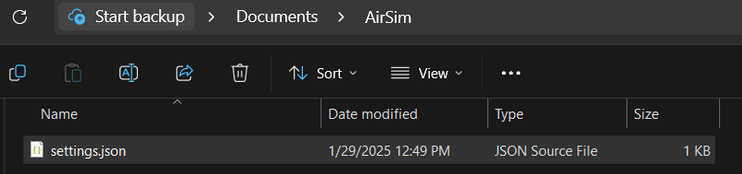
The final step is to replace the settings.json file found in .../Documents/AirSim with the one found in Drone-Controller/settings.json. The AirSim folder is specifically located in your main drive's Documents folder. It can also be found in .../OneDrive/Documents/AirSim if you are tracking your Documents folder with OneDrive.
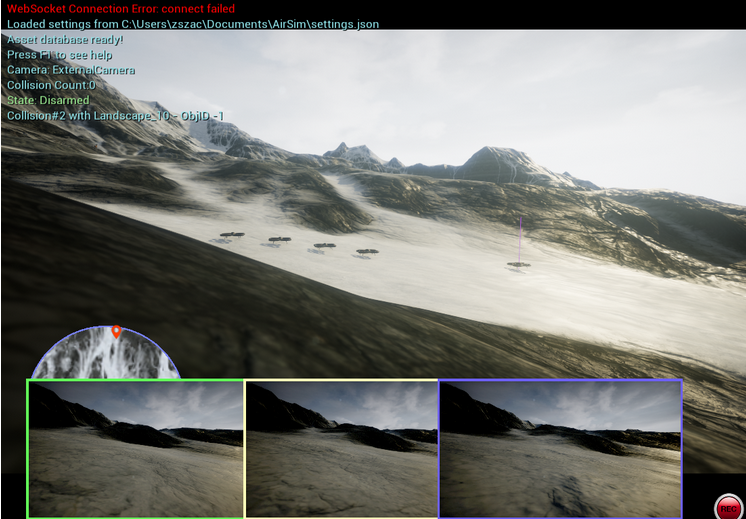
Press play in the Drone-Environment Unreal Engine project. You should now see 5 drones spawn along with 3 subpanels.
Running the Project
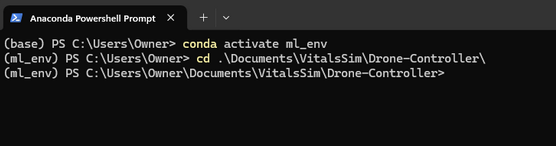
With everything now set up, we can now run the project. Open up an Anaconda Powershell Prompt, navigate to the Drone-Controller directory, and activate your Conda Environment.
Finally, to run the project, just run python updated_mission_control.py.
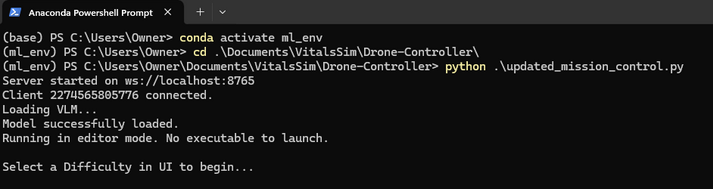
By default, we should be running in editor mode. To start the simulation, open the Unreal Project and press Play. Click on the Start button and select any difficulty to begin the simulation.
If you want to run the project in release mode, set RELEASE_BUILD to True in parent_controller.py. Then, run the project again. Then, either Package the Unreal Engine project or download the Drone Environment Build Release in the GitHub. Change the EXECUTABLE_PATH in local_config.py to the absolute path to the DroneEnvironment.exe file.
Once done, run python updated_mission_control.py again. This time, the script will launch the Drone Environment executable automatically.